
How to: Photobook

-
All photos from Greta Hoffman via Pexels. Please find all images used here:
-
Coming soon
General Document Setup
11in. x 8.5in. Landscape Format
15 pages, with “facing pages” checked
Start # = 1
Columns 1, column gutter 0.1667in
Margins = 0.5 in. all sides
Bleed = 0.125in.
This is a very important step if you want ANY full bleed images!
Note that you’ll also have to drag out any images that you want full bleed out to the bleed mark
Step 1: Prepare Your Photos with Free Video Editing Tool
Use the online image editing tool Pixlr to prepare your photos.
It’s a great free tool that anybody can use and in my opinion one of the most versatile in terms of functionality and speed.
Import your images into Pixlr, and apply adjustments using the “Batch Editor” tool to ensure a consistent look and feel, such as adjusting vibrance and saturation.
The Batch Editor is very similar to Adobe Lightroom but does it all online and arguably faster.
Consider warming up the photos by adding a yellow tone for a cohesive, warm, and inviting appearance.
Export the edited images in high-quality JPEG format.
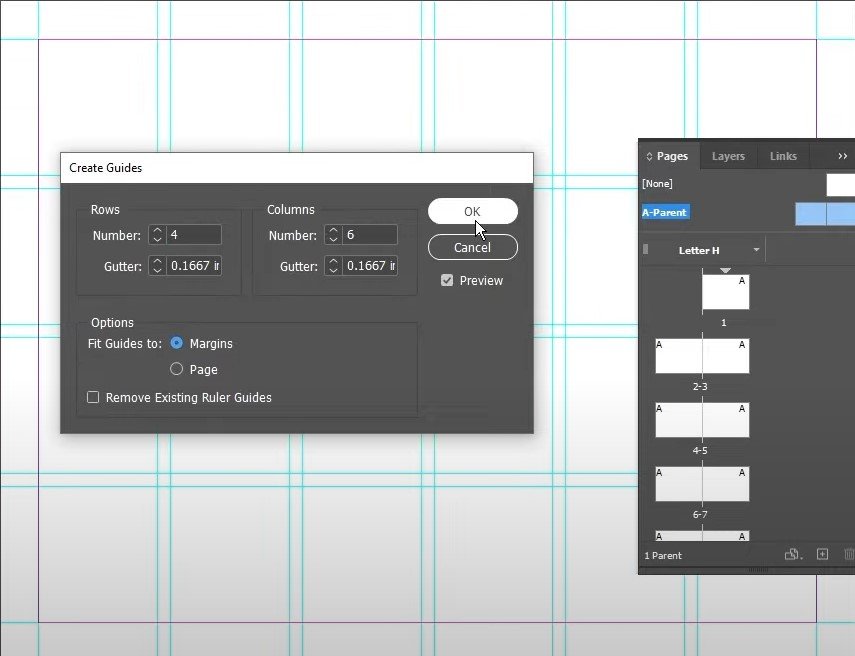
Step 2: Create Layout Guides
In InDesign, access the "Pages" panel and navigate to the "Master Pages" section.
Create layout guides on the master page by going to "Layout" and selecting "Create Guides."
Set up four rows and six columns for your guides to facilitate the placement of images and content.

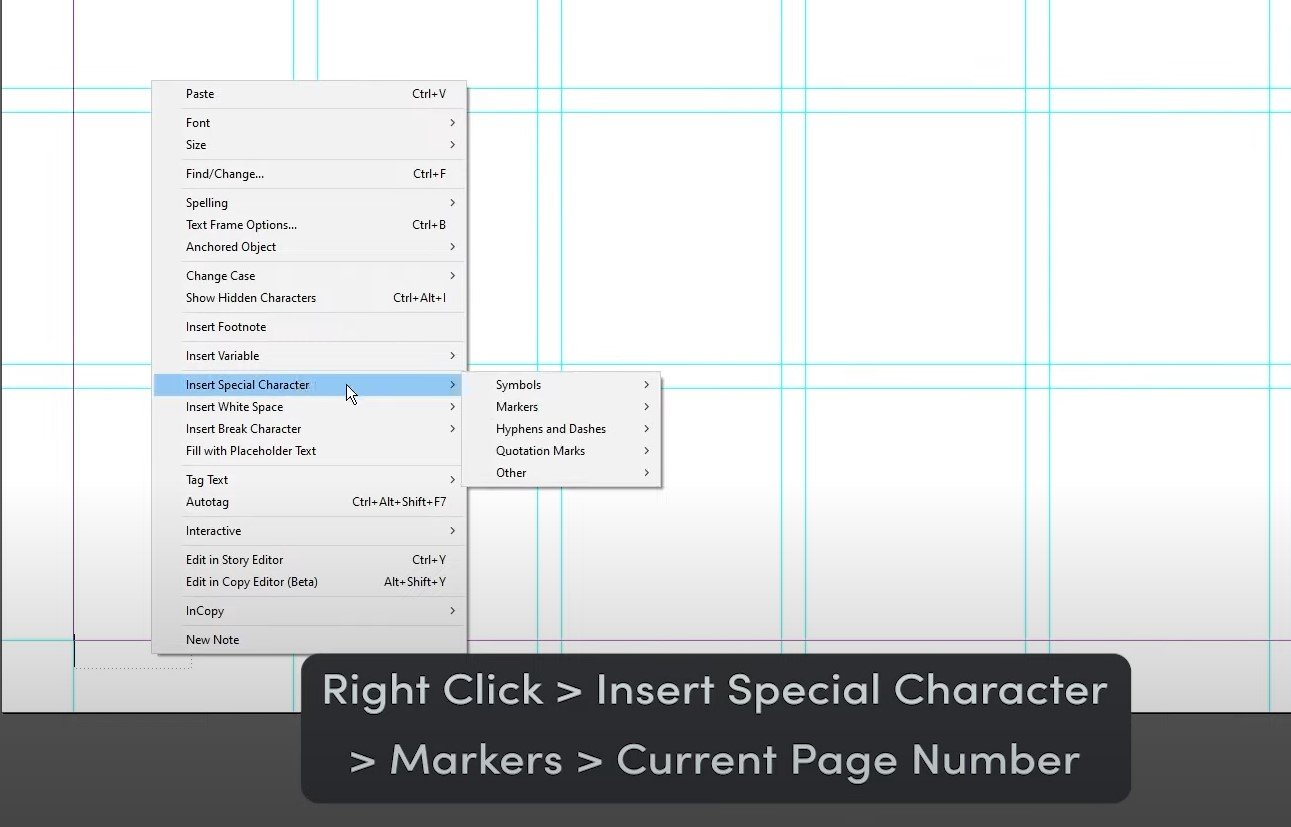
Step 3: Add Page Numbers
On the master page, create a text box and place it in a corner.
Right-click on the text box and select "Insert Special Character," then choose "Markers" and "Current Page Number" to add dynamic page numbers.
Adjust the font style and size as desired and make the page numbers slightly transparent for a subtle effect.

Step 4: Design Your Pages
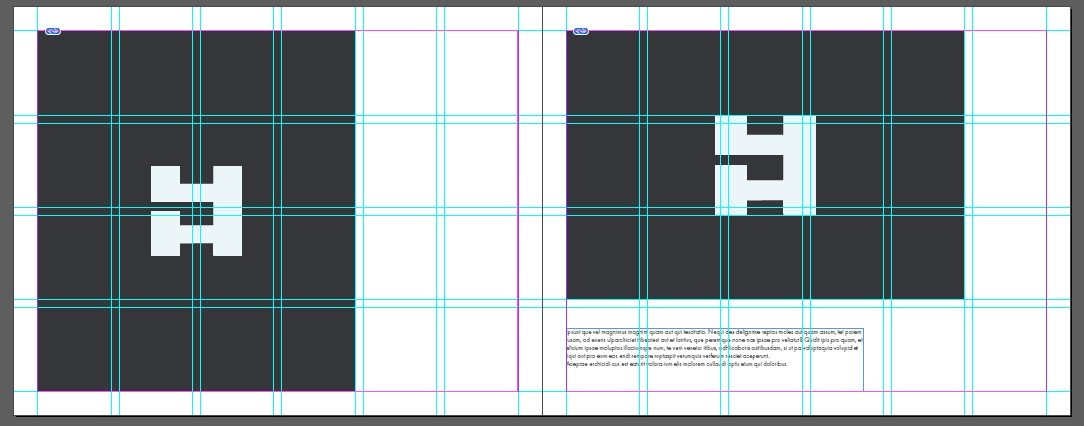
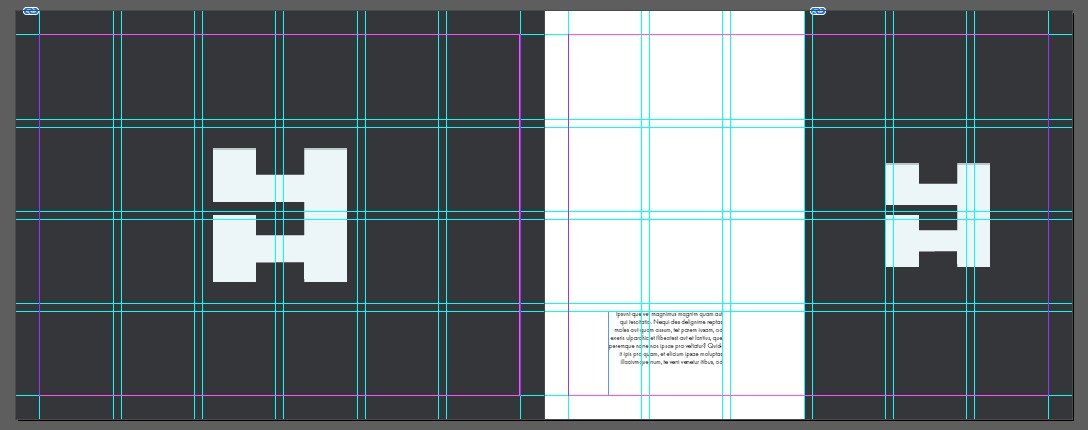
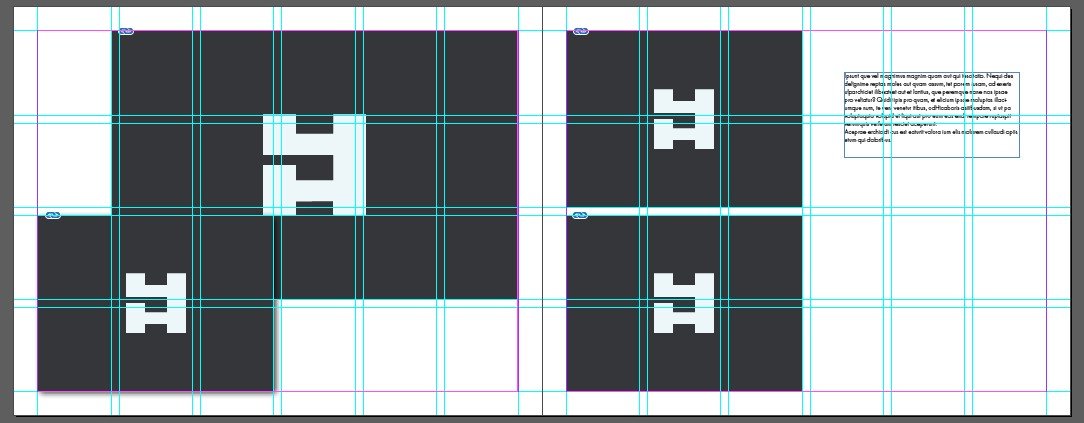
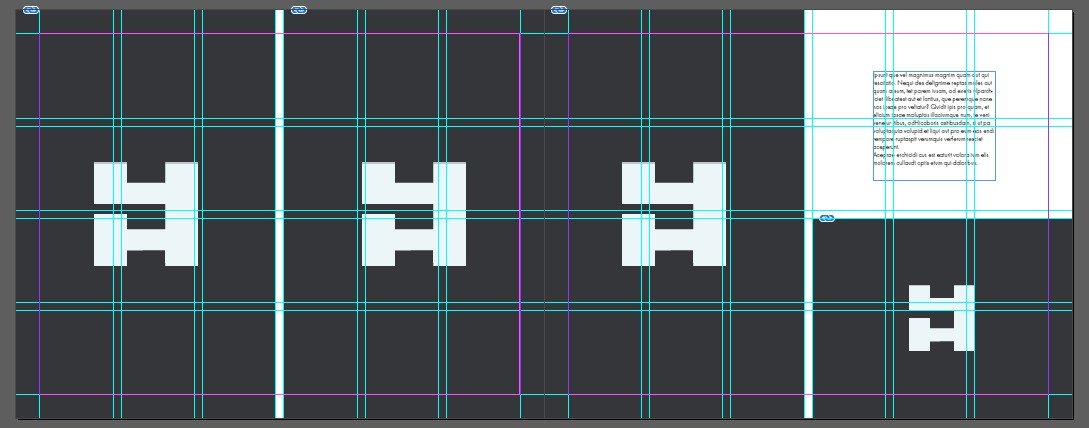
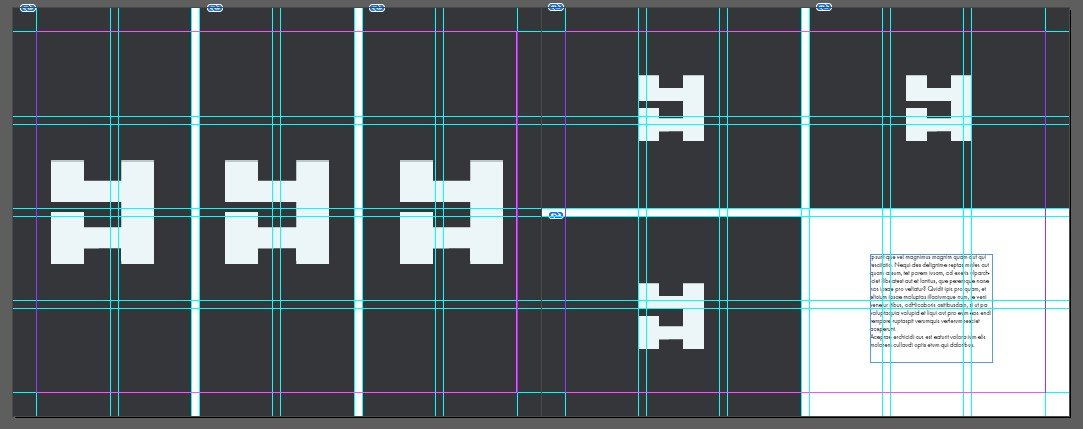
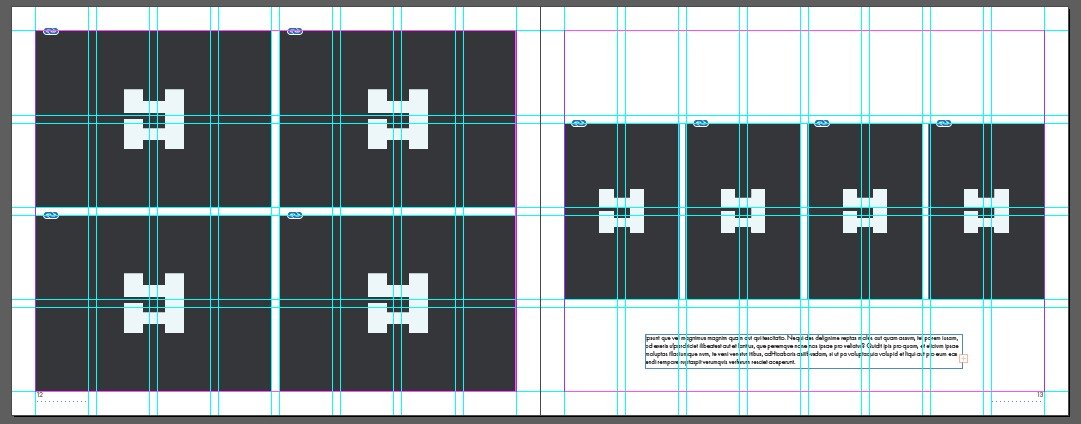
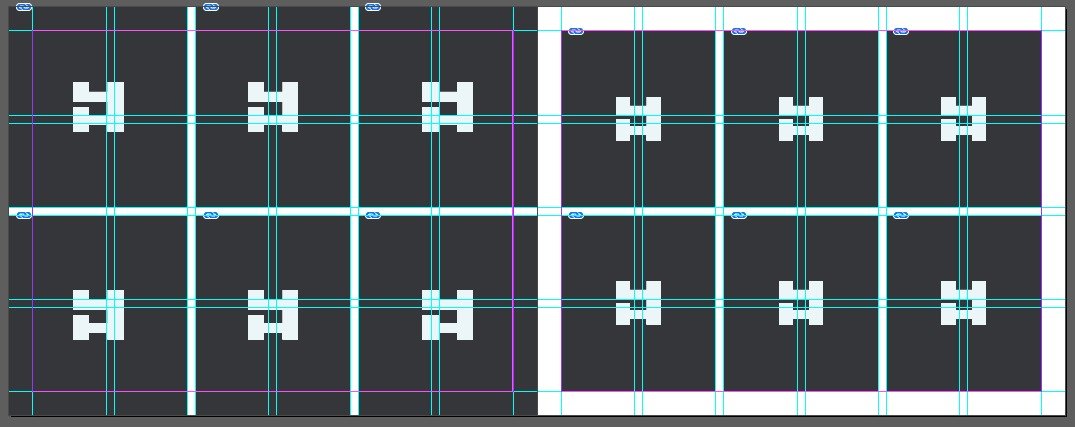
Begin designing your pages with different layout options:
General Tips to follow for all layouts
Make sure to fit each pictures accordingly, I like to use the function for fitting proportionally. (Ctrl + Shift + Alt + C)
Add text elements to balance the white space or use additional images.
Below is a slideshow of best placement of pictures based on this grid laid out in:
1,2,3,4,6 Pictures per page (Portrait and Landscape Orientations)
Step 5: Fine-Tune and Review
Adjust the spacing and alignment to achieve a visually appealing composition.
Ensure your content respects the margins and fits well within the guides.
Continuously review and fine-tune your layout for a harmonious look.
Step 6: Export and Print
To export your photo book, go to "File" > "Export" in InDesign.
Save the document as a high-quality PDF.
Consider taking the PDF to a local print shop or using an online printing service for professional printing.
Upload the PDF to the print shop's website and specify your printing preferences.
Wait for your printed photo book to be delivered to your doorstep, and enjoy your creation!