
Layout 14 - Bubbly Letters

-
-
Coming soon
General Document Setup
11in. x 8.5in. Portrait Format
2 pages, with “facing pages” checked
Start # = 2
Columns 1, column gutter 0.1667in.
Margins = 0.625 in. all sides
Bleed = 0.125in.
This is a very important step if you want ANY full bleed images!
Note that you’ll also have to drag out any images that you want full bleed out to the bleed mark
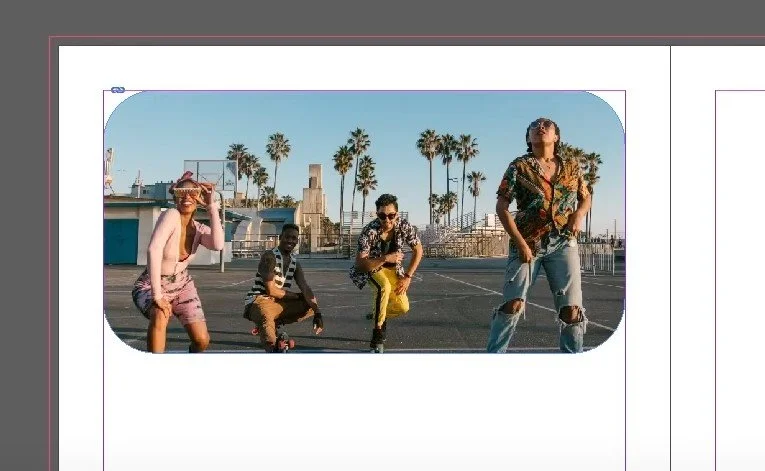
Step 1: Add an Image with Rounded Edges
Starting off with the left side of the page, from the top:
Use the Rectangular Frame Tool (F) to create a frame for the image.
Import an image and adjust its size to fit the frame.
Right-click on the image and select "Fitting," then "Fit Frame Proportionally."
To round the edges of the image frame, go to "Objects," then "Corner Options," and set the roundness (e.g., 0.75 inches).
Step 2: Add Text Blocks
Use the Type Tool (T) to create a title block for your layout by dragging the textbox dimensions you want on the page.
Add another text block at the bottom for additional content.
Right-click on the text frame, choose "Text Frame Options," and set the number of columns to two.
Fill in textbox with desired text.
Step 3: Create a Gradient for the Bottom Shape
Draw a shape at the bottom of the left page using the Pen Tool (P).
Open the Gradient Swatches panel and use the Color Theme Tool to select appropriate colors.
If you don’t have Gradient Swatches Panel, turn it on by going to Window > Color > Gradient
Apply a gradient to the shape, matching the color theme.
Drag and drop swatches into the gradient selector boxes in order to change the color of the gradient.

Step 4: Text Wrapping Around the Shape
Open the Text Wrap panel.
Find it under Window > Text Wrap
Select the shape we just created and click on "Wrap Around Object Shape."
Adjust the border to control text flow around the shape.

Step 5: Add a QR Code
Go to "Objects" and choose "QR Code."
Input the desired web link in the dialog box.
Insert the generated QR code image onto the page, positioning it as needed.
The QR code will be inserted as an image file, you can change the color of the QR code before generation by altering it in the previous prompt boxes.
Step 6: Create a Background Shape on the Right Page
Use the Rectangle Tool (M) to create a background shape.
Apply the same gradient used for the left page shape.
Step 7: Create Bubbly Text Using Pixlr
Use Pixlr X to create bubbly text:
Open Pixlr X and create a new layout with the desired dimensions.
Here I used the Flyer preset, which match our page size at 8.5” x 11”
Add text with a bubbly font (e.g., "Punch") and adjust its size.
I used the font “Ponch” and adjusted the size so it fit the entire page
Add a slight curve to the text.
Add “Liquify” effect by dragging your mouse across the screen to the direction you want the text to morph.
Save the text as a PNG image with transparency.
Step 8: Add Bubbly Text and White Outline
Back in InDesign, create a rectangular frame on the right page with.
Drag and drop the PNG image with the bubbly text into the frame.
Use Control+Alt+Shift+C to fit the text image proportionally.
Create a white outline by drawing a white rectangle around the text.
Draw with Rectangle Tool (M) with a thick white stroke and no fill.
Cut the white outline where it interacts with the text using the Scissor Tool (C).
Step 9: Finalize and Add Additional Text
Tweak the outline as needed for a smooth interaction with the text.
Add any additional text content below the bubbly text.
Ensure it's in a readable font and color.
Step 10: Review and Save
Review the layout to ensure it's visually appealing and cohesive.
Save your InDesign project and export!