
Layout 5 - Table of Contents (x2)
Hey there, design enthusiasts! Welcome back to another creative journey. Today, we're diving into the wonderful world of table of contents design in InDesign. We'll show you not one but two fantastic layouts that are sure to elevate your documents, magazines, or portfolios. So, whether you're a design newbie or a seasoned pro, stick around because we've got some fantastic tips and tricks coming your way!
General Document Setup
Standard Letter 8.5”x11” portrait sheets
4 pages, with “facing pages” checked
Start # = 2
Columns 1, column gutter 0.1667in
Margins = 0.5 in. all sides
Layout 1: Traditional Table of Contents
Document Setup:
Access the Master Pages or Parent Pages where you'll design the table of contents layout.
Go into the “pages” tab on the right side of InDesign under the quick slot bar. If you don’t have it go to “Window” at the top and check on “pages”.
On the top of all pages, there are the Parent (Formerly Master) pages, double click into it to edit. Whatever you do on the parent page will show up on all pages categorized by that parent page.
Header Information:
Add a header to the Parent Page. Use the type tool (T) to insert text, such as "Magazine" or your document's title.
Here I am using Furutra Demi at 12pt font.
Beside that, include your channel or project name.
Place these elements towards the top of the page.
Page Number:
Create a text box (T) and use the "Insert Special Character" function to add the current page number.
Select the text box, then go into Type > Insert Special Character > Markers > Current Page Number.
Center-align the page number using the align tools, adjusting the alignment to the entire page.
Copy this page number to ensure it appears on both pages of the spread.
Anchor Images:
Drag and place images for each section's anchor point. Ensure you select the frames first.
Use the Rectangular Frame Tool (F) to drag the frame.
If your table of contents has multiple sections, repeat this step for each section.
Subheadings and Descriptions:
Below each anchor image, create a text box (T) for subheadings, e.g., "Portraits," and add brief descriptions if desired.
Here I am using Furura PT Demi 72pt font for all titles and page numbers.
Furura PT Demi 18pt font for all sub headings.
Furura PT Book 12pt font for all body text.
Make sure these elements are center-aligned and uniform with the header.
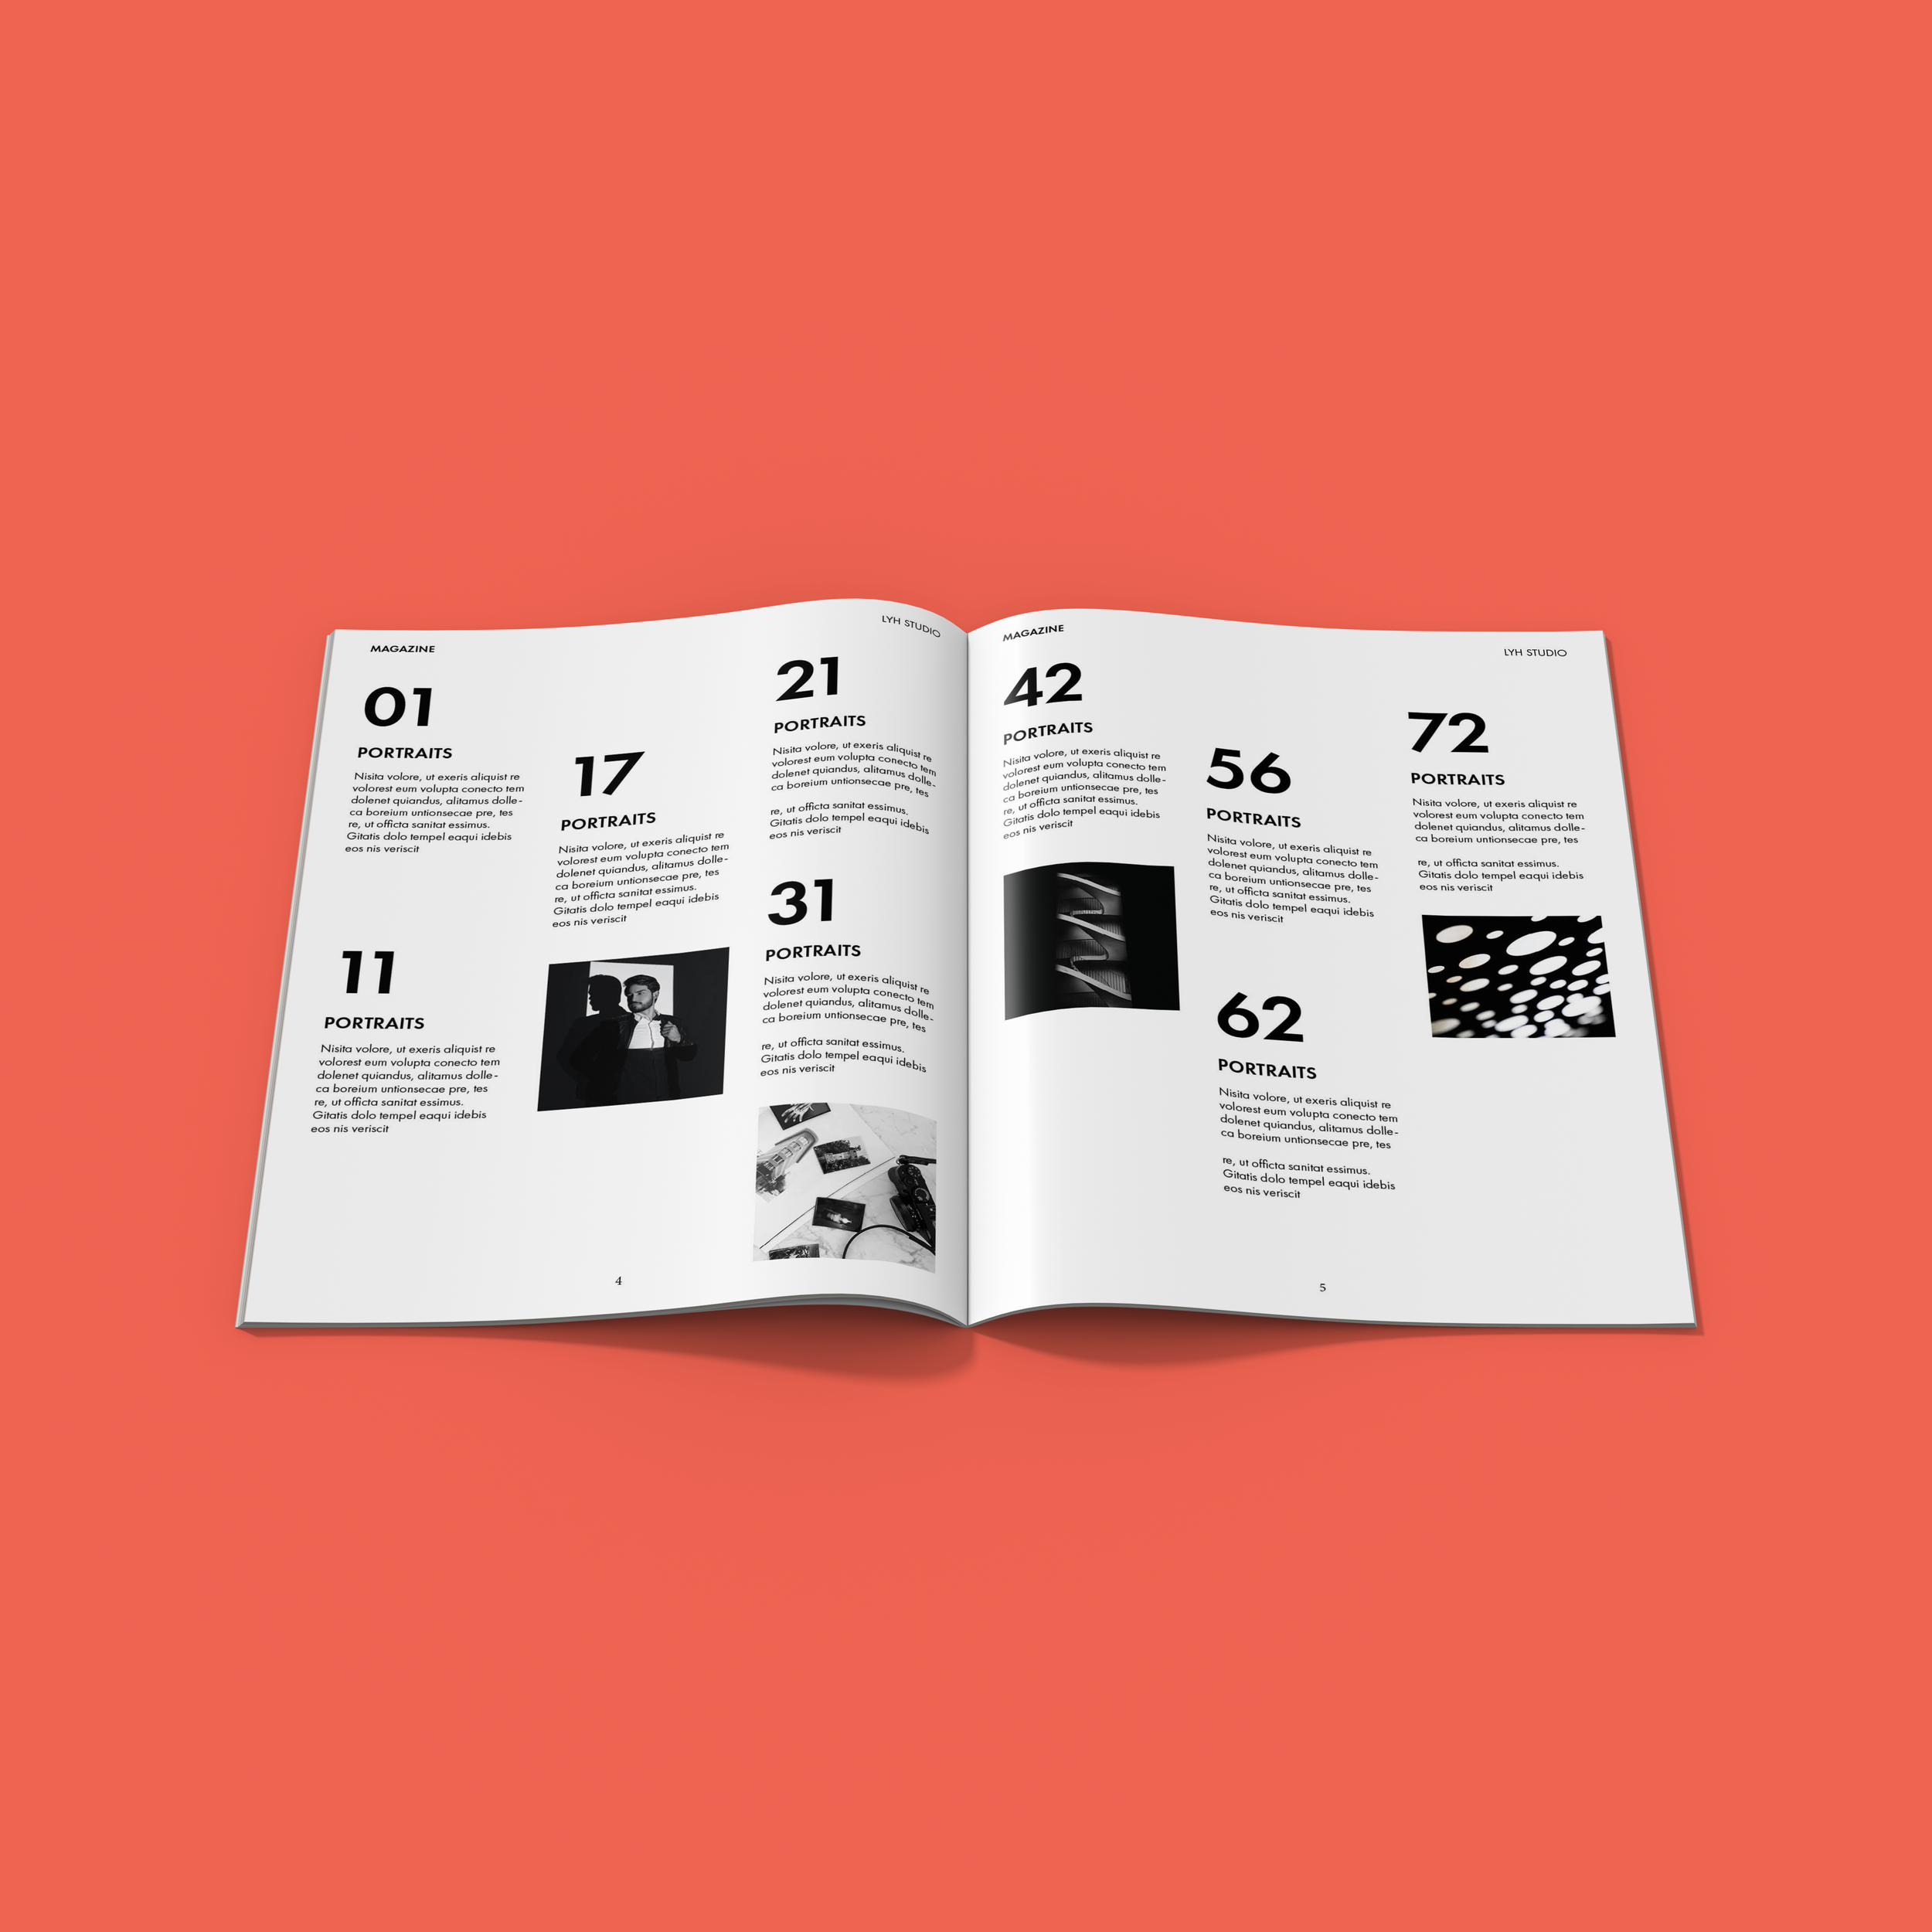
Layout 2: Freeform Table of Contents
Step-by-Step Summary:
Document Setup:
We are using the same page and margin size as the layout above.
Creating Guides:
Design three columns with wider gutters to provide more spacing between elements by going to Layout > Create Guides.
Here I am using 3 columns with a 0.4375 in. gutter fitted to the Margins of the page.
These guides will help you structure the layout.
Page Numbering:
Design a large page number using a consistent font and place it within your margin.
You can reuse the same page number format throughout the document. Alt + Drag to copy an element.
Left-Justified Sections:
Begin by creating left-justified sections within the columns.
Customize each section's title and content as needed.
Adding Images:
For added visual appeal, insert images within some sections.
Create picture frames and fit images into them. Ensure images follow text descriptions.
When creating this part, I purposefully left some columns with just one set of text so that I can fit in an image later to balance out the ration between text and images on the page. Feel free to copy exactly what I did.
Review and Fine-Tune:
Preview the design (press 'W') to see how it looks.
Make necessary adjustments to text sizes, column widths, and image placements until you're satisfied.
And there you have it, folks – two stylish table of contents layouts that are bound to impress! We hope you're feeling inspired and ready to let your creativity run wild in InDesign. Remember, design is all about expressing your unique style, so don't be afraid to experiment and make your table of contents your own masterpiece. If you enjoyed this video and learned something new, give it a thumbs up, subscribe for more design adventures, and leave us your thoughts in the comments below. Until next time, keep designing and keep smiling! 🎨😄