
Layout 4 - Shape Clipping and Vibrant Layout
-
-
Coming Soon
Hey there, design enthusiasts! Welcome to another episode of amazing layouts that we’ll be learning! Today, we're diving into the wonderful world of crafting eye-catching layouts. Whether you're a seasoned designer or just looking to try your hand at something new, you're in for a treat! In this video, we'll walk you through a step-by-step guide on creating stunning InDesign layouts, covering everything from guides and images to text placement and adding that extra dash of flair. So grab your creative hat and let's jump straight into the design fun!
General Document Setup
Standard Letter 8.5”x11” portrait sheets
2 pages, with “facing pages” checked
Start # = 2
Columns 1, column gutter 0.1667in
Margins = 0.625 in. all sides
Step 1: Prepare Your InDesign Document
Open Adobe InDesign and create a new document with your desired dimensions.
Start by setting up guides: Go to "View" > "Grids & Guides" > "Create Guides." Adjust the gutter and the number of guides as needed.
Here we are using 3 Columns at 0.125 in. gutter fit to the Margins
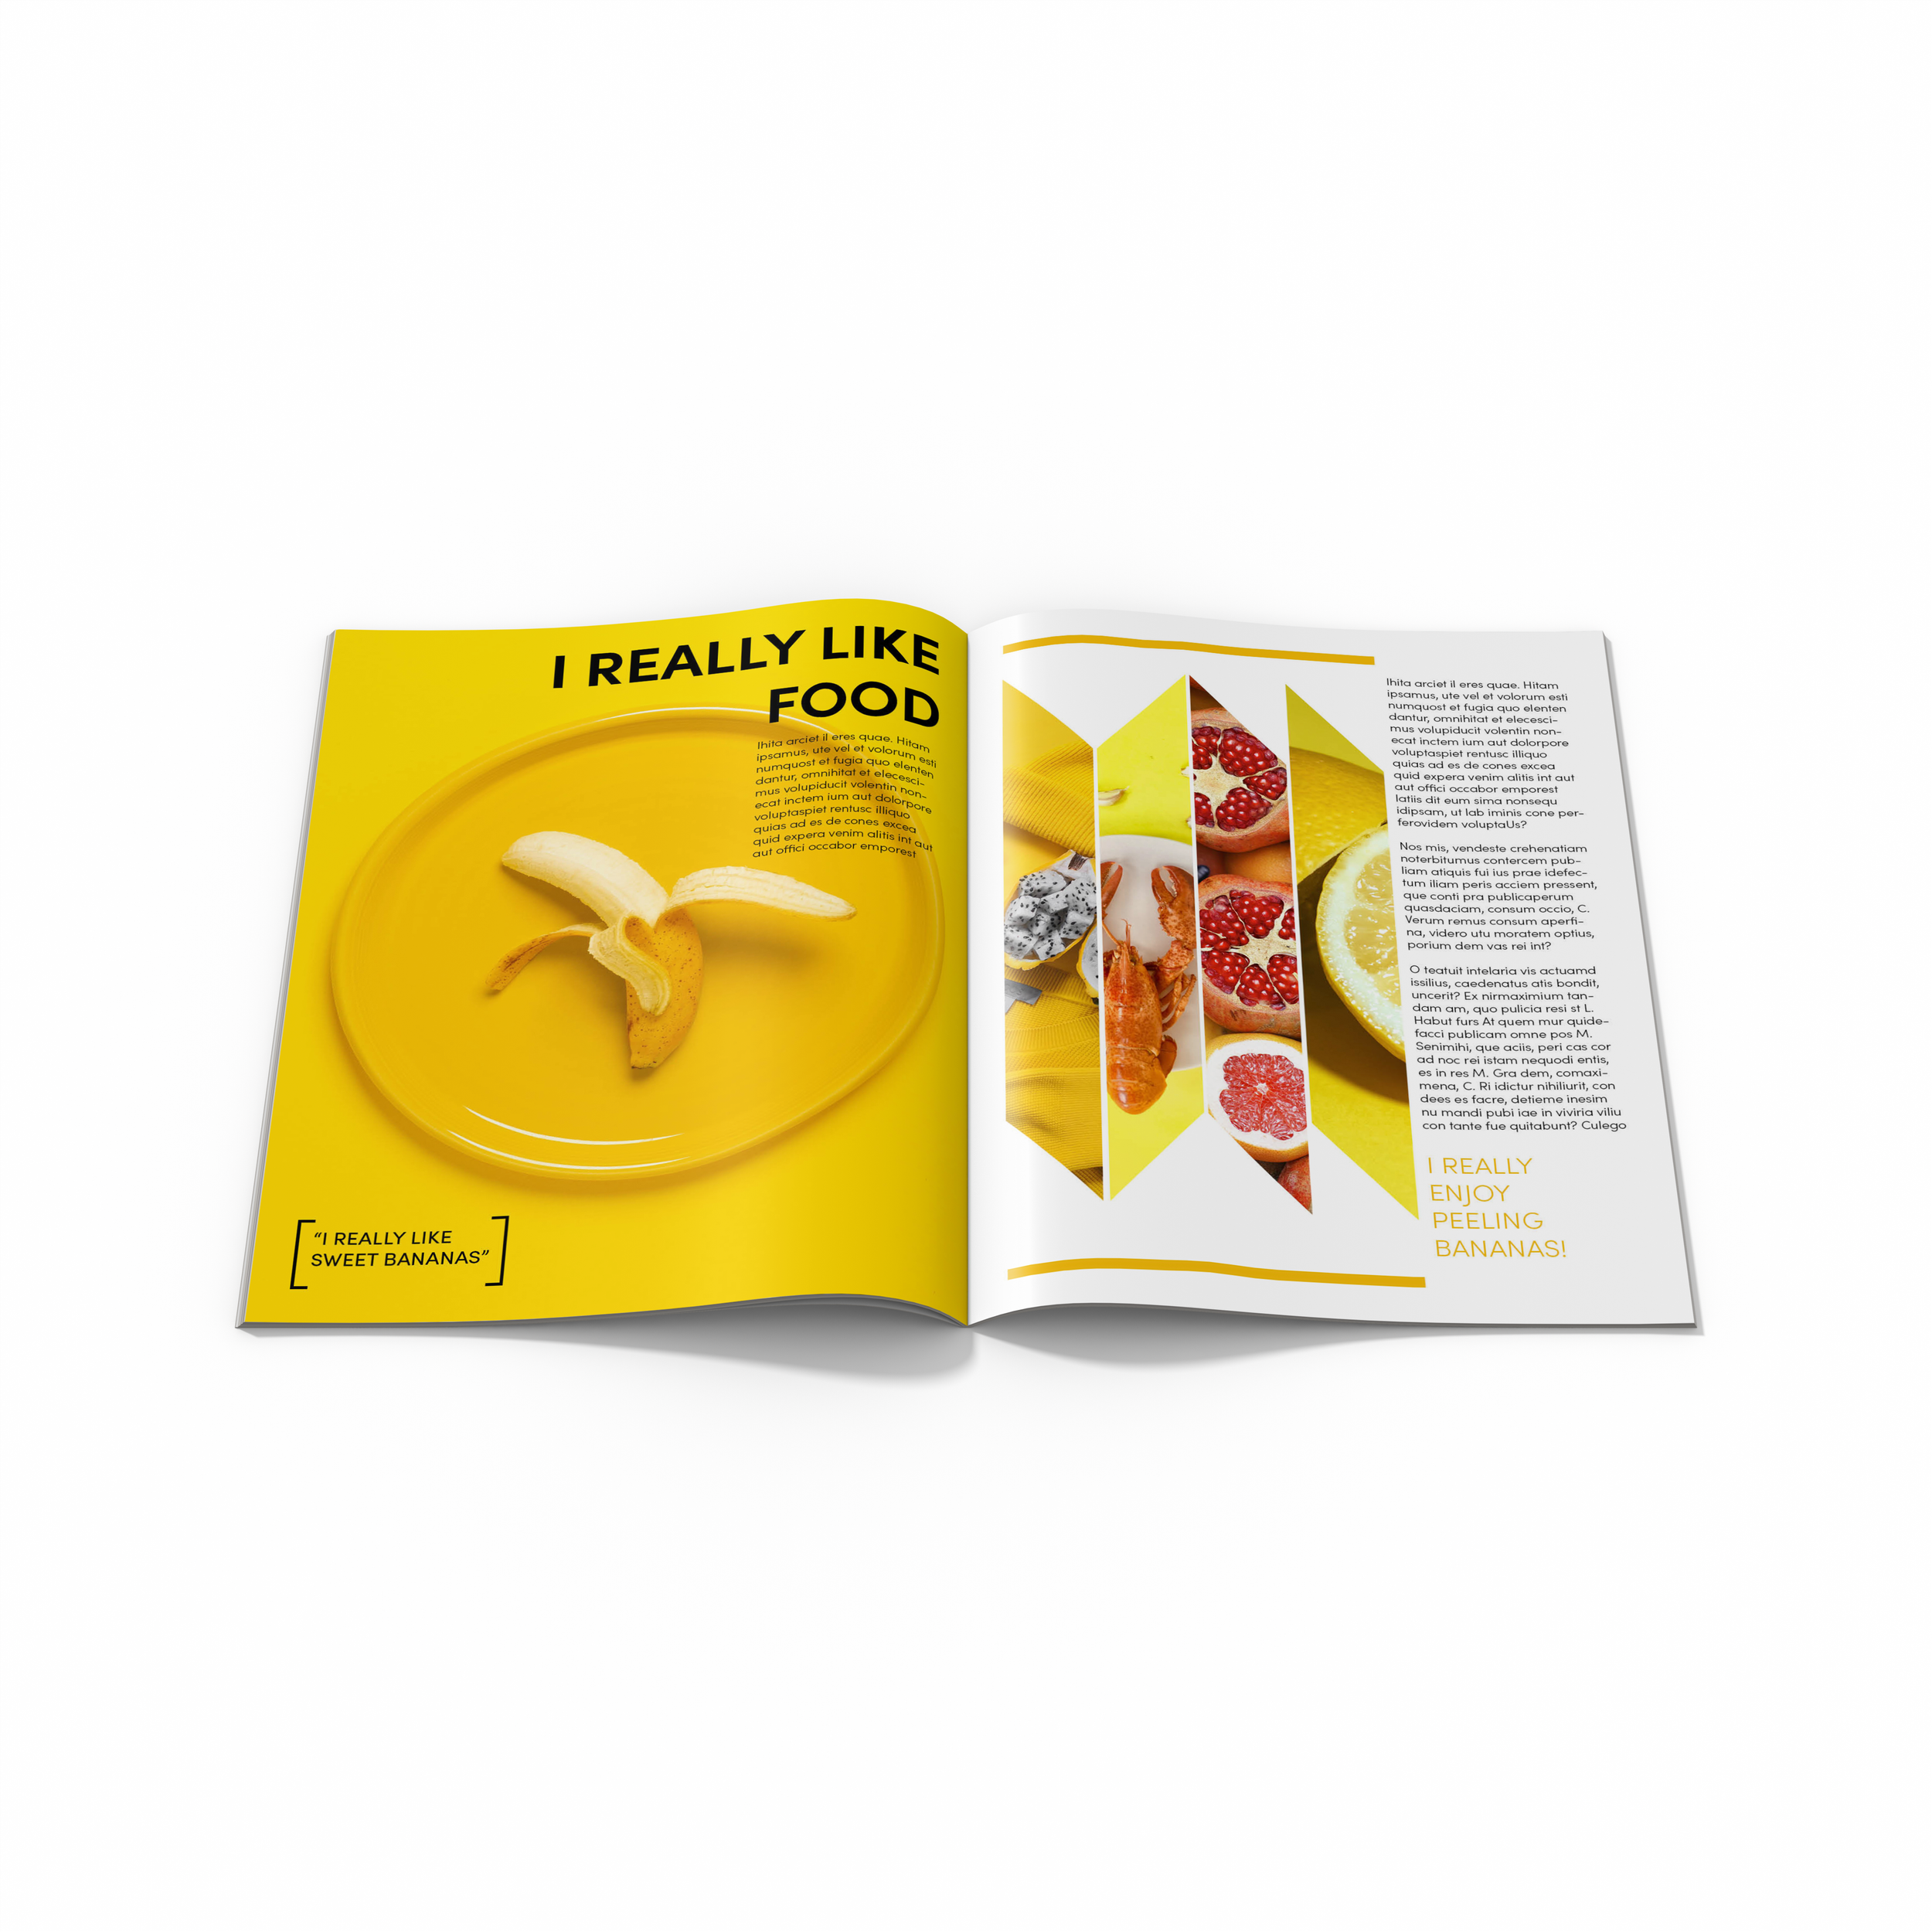
Step 2: Adding a Full-Bleed Image
Import an image into your layout by going to "File" > "Place" and selecting your image (e.g., a banana).
Resize the image to fit the entire page by clicking on it, and use the shortcut "Ctrl + Alt + Shift + C" to fit it into the frame.
Check the image placement by pressing "W" for a preview.
Step 3: Adding Text Boxes
Create a text box by selecting the "Type" tool (T) and dragging a box where you want to place text.
Type in your desired text, ensuring the font size and style match your design concept.
Consider alignment and font hierarchy. You can use a font like "Sofia Pro" or choose your preferred one.
Here I am using Sofia Pro Light at 12pt font.
Step 4: Balancing with a Quote
Create another text box at the bottom left of the page.
Add a relevant quote (e.g., "I really like bananas") in quotation marks.
Adjust the font size to create hierarchy and balance within the layout.
Here I use Sofia Pro Medium at 18pt font.
Step 5: Adding Borders and Shapes
To add visual interest, draw a border or shape using the "Pen" tool (P), holding "Shift" to create straight lines.
Customize the shape, adjust line thickness, and ensure it complements your layout.
Consider using this to ground elements within your design.
Step 6: Creating Multiple Image Frames
Use the "Pen" (P) tool to draw parallelogram shapes on the right side of your layout.
Ensure they fit within your margins and distribute them evenly.
You can use the distribute and align tools at the top of the tools and attribute bar. See [5:08]
To place images in these frames, simply drag and drop images onto the shapes.
Use "Ctrl + Alt + Shift + C" to fit the images into their respective frames.
Step 7: Filling with Text
Copy a text box (Alt + Drag to copy) from a previous section and paste it into the following section.
Adjust the size and position of the text box to accommodate your text content.
Step 8: Adding Accent Colors
To introduce contrast and visual appeal, select an accent color that complements your layout's dominant color.
Apply this accent color to elements like text or shapes.
Use the eyedropper tool (I) to pick a color already present in your layout for better cohesion.
Here I’m using HEX: f1b90a
Step 9: Adding Borders for Emphasis
Optionally, use the rectangle tool (M) to create a border along the top or bottom of the page.
This border can enhance the visual impact of your layout and separate elements.
Step 10: Experiment with Layout Variations
Feel free to experiment by rotating or flipping elements for a unique look.
Swap out images or use solid colors within frames to diversify your design.
Be creative and customize your layout as desired.
And when you're done, remember that design is all about creativity and expression, so don't hesitate to apply these techniques to your own projects, whether it's a school assignment, a business proposal, or a personal endeavor. InDesign is your creative playground, so unleash your inner artist, and let your imagination run wild. Thanks for joining us, and remember, the only limit to your design is your imagination. So go ahead, keep those beautiful layouts coming, and we'll see you in the next video, design aficionados. Bye for now!