
Layout 7 - Contemporary Spread
-
-
Coming Soon
Hey there, design enthusiasts and creative minds! Welcome back to another exciting design adventure with us at LYH Studio. Today, we're diving headfirst into the world of creating easy, breezy, and super contemporary InDesign layouts. Think of it as your express ticket to crafting visually stunning designs that pop with modern flair, all while keeping it minimalistic. Whether you're a seasoned designer or just dipping your toes into the creative pool, there's something here for everyone. So, buckle up because we're about to embark on a design journey that's as fun as it is informative. Let's get started!
General Document Setup
Standard Letter 8.5”x11” portrait sheets
4 pages, with “facing pages” checked
Start # = 2
Columns 1, column gutter 0.1667in
Margins = 0.75 in. all sides
Layout 1: Creating Minimal Contemporary InDesign Layout
Left Page:
Add an anchor image to the left with some white space around it.
Create left-justified text with consistent capitalization and punctuation.
Use a chosen font for the text and adjust its size to fit neatly.
Here I am using Big John Regular at 36pt font.
Right Page:
Begin with a new section at the top (e.g., "About Us") using lowercase letters.
Using Sofia Pro Bold at 18pt font.
There are many ways to instill a sense of identity into your design, here I demonstrate how you can use consistency across Higher/lower case letter, whether or not you put a period as a strong and uniform design element.
Utilize a different font for subheadings, make it bold, and adjust its size.
Insert a picture frame (F) for visual appeal and transition to body text.
Insert two columns of light-textured body text with the Text Tool (T) and maintain consistency in font choice and size.
Here I am using Sofia Pro Light at 12pt font.
Enhance the page's richness by adding a signature or similar element.
Add finishing touches:
Here we are using a signature to round out the page. It gives the page a lot of credibility.
There are plenty of tutorials like this one by VerticDesigns that shows you how to make a signature scan into a transparent png. https://www.youtube.com/watch?v=3Za9rm0-jnE
We can use the looseness of the signature to break the rigidity of the very rectilinear layout, enriching the page.
Final Touches:
Maintain ample white space for readability and aesthetic appeal.
Adapt these principles to other contemporary designs and apply the same rules for consistency.
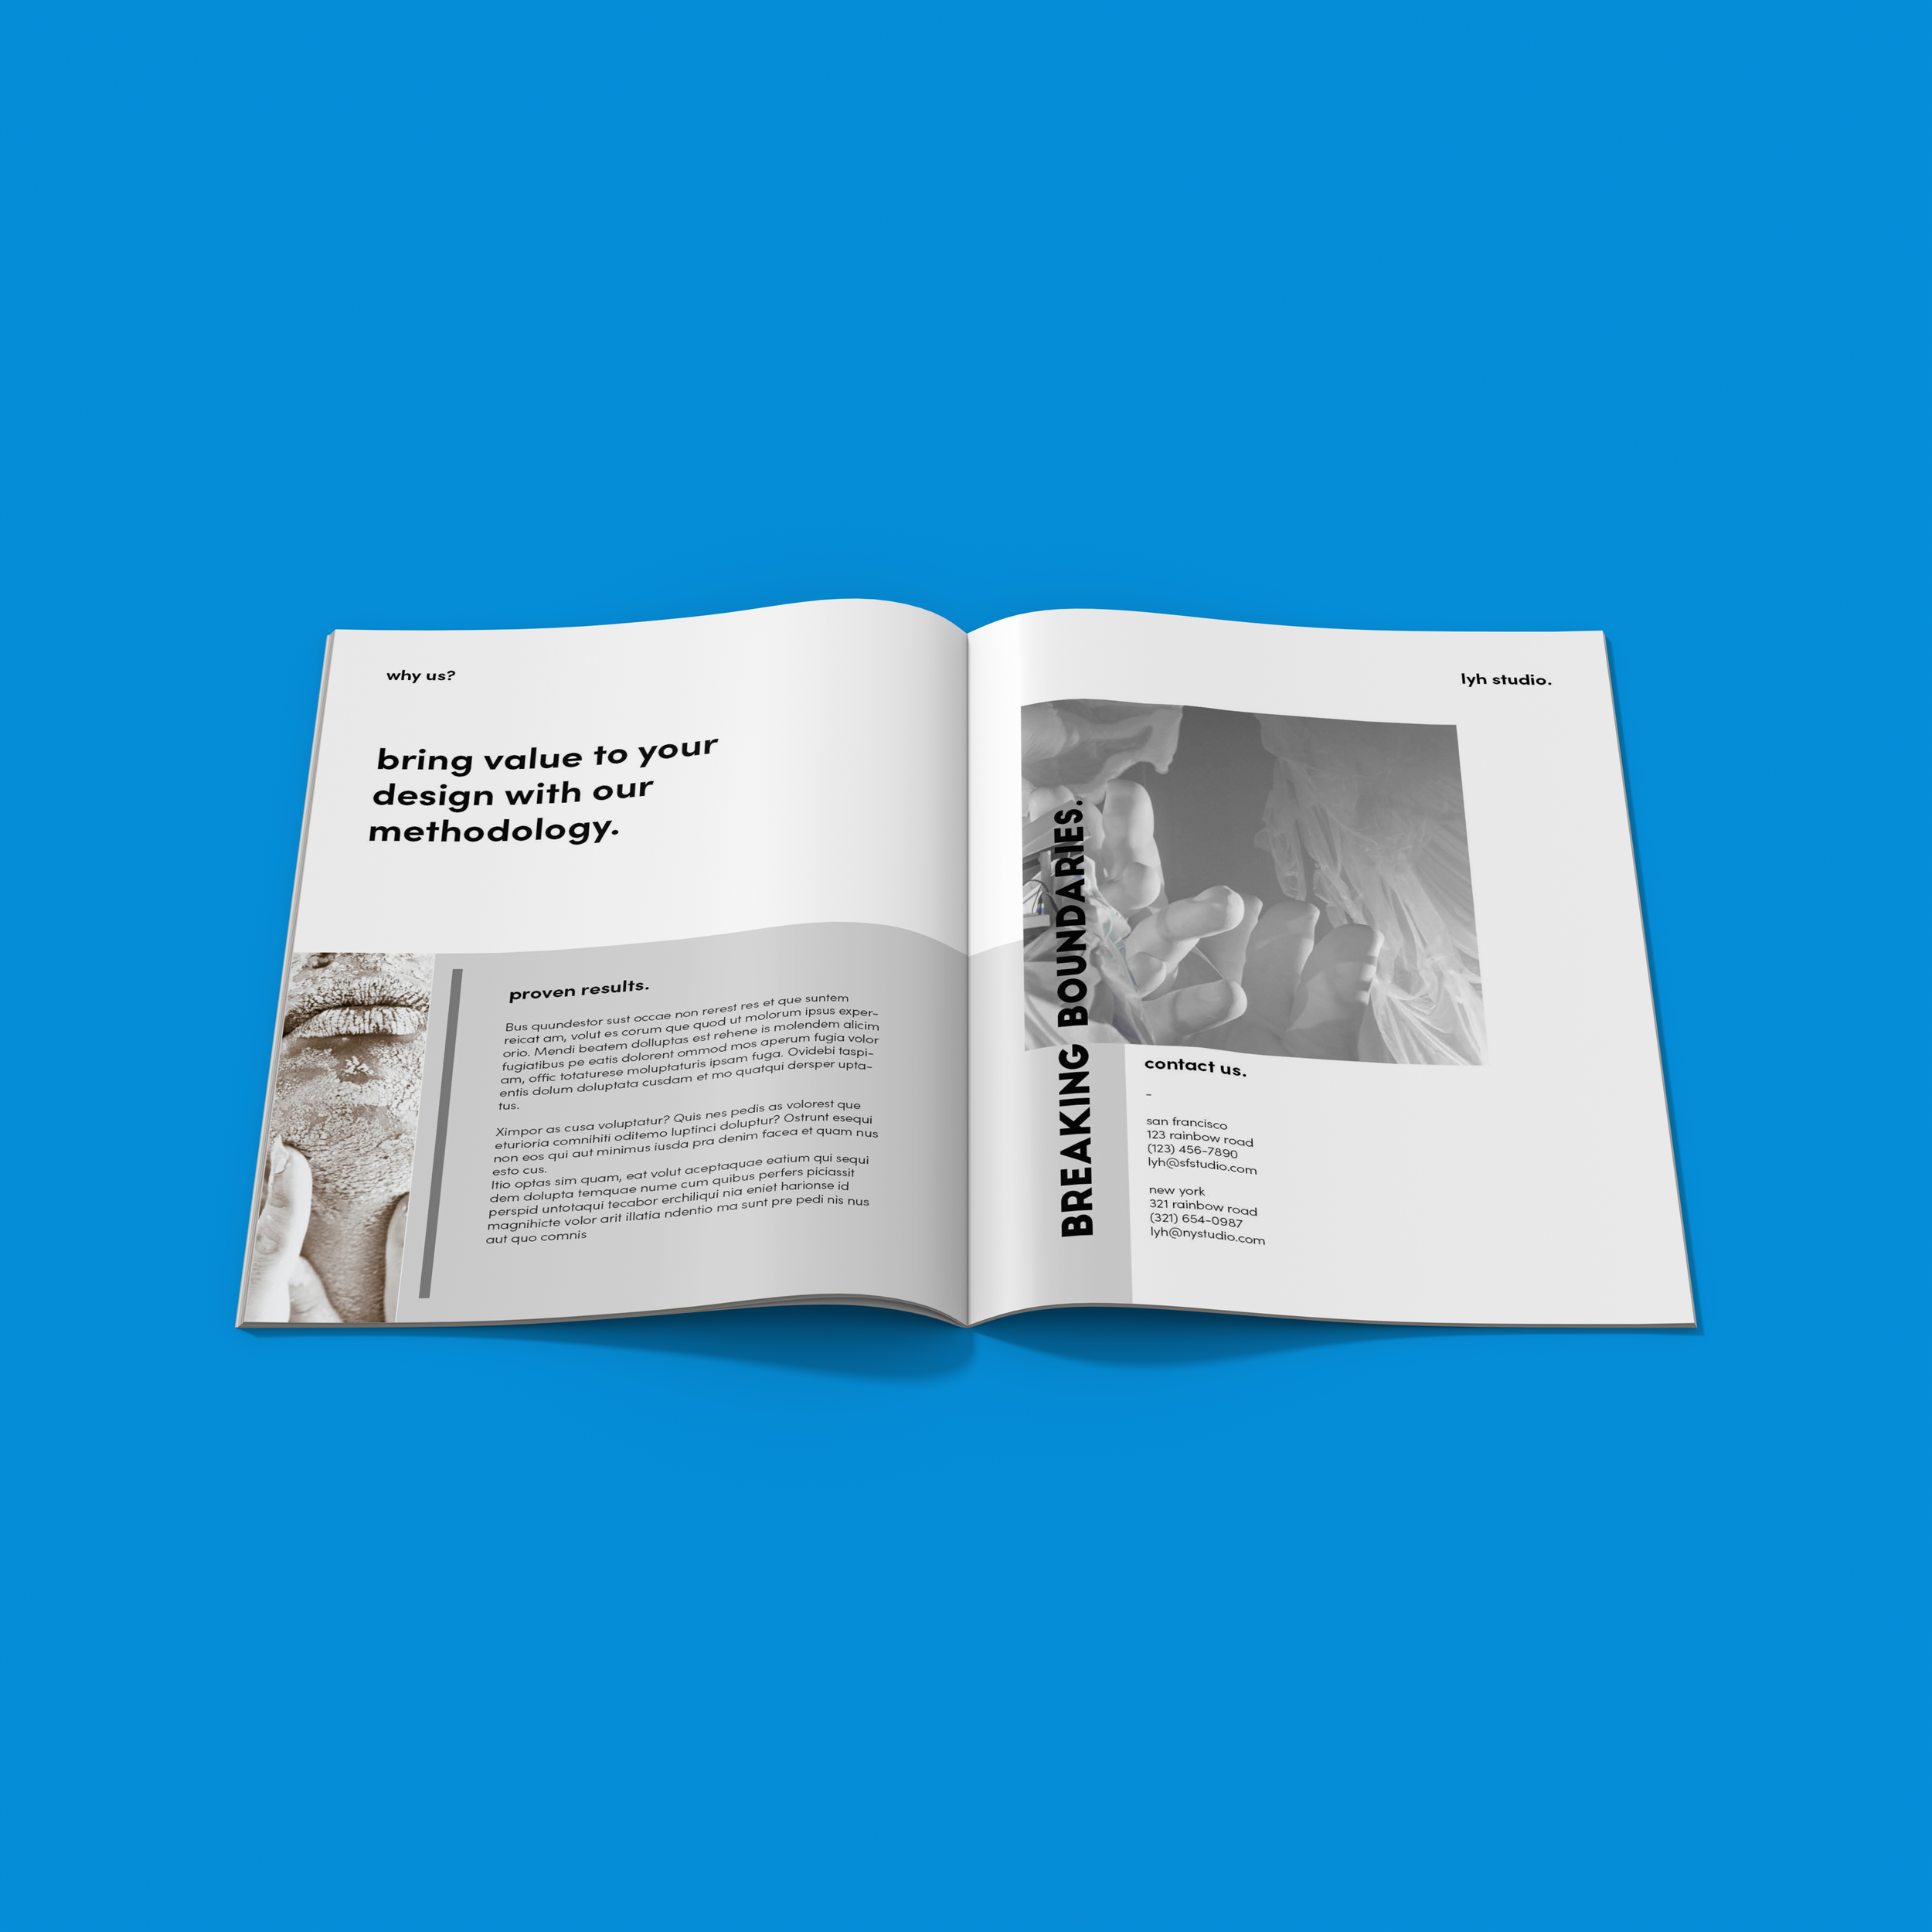
Layout 2: Designing Contemporary InDesign Layout with a Full-Bleed Element
Adding Backgrounds:
Add an anchor shape to the left with the Rectangular Tool (M) that goes into the right side of the page.
Create an image that interacts with the shape we just created with the Rectangular Frame Tool (F) with a similar color scheme.
Adding Text
Add big title text as shown, one is used to tie the two pages and visual elements together while the other acts as a title block to round out the left page.
Threading element text is Big John Regular at 36pt font.
Title block is Sofia Pro Bold at 36pt font.
Add a section title and body text on the solid color shaped we created to round out this page.
For the Section Title I’m using Sofia Pro Bold at 18pt font.
Body text is Sofia Pro Light at 12pt font.
I also add another image with the Rectangular Frame Tool (F) at the left side as well as a thick line with the Rectangle Tool (M) to enrich the page.
On the right side, I copy the body text and section title on the left and fill it in right underneath the anchoring pictures and modify to house the “about us” section.
And there you have it, folks! We've just scratched the surface of what's possible with easy, minimal contemporary InDesign layouts. We hope you're feeling inspired and ready to take your design game to the next level. Remember, the magic lies in experimentation, so don't be afraid to let your creativity run wild. Until next time, keep those design juices flowing and stay inspired. Catch you in the next one!